Being stuck at home with little access to fitness equipment may be unavoidable for the time being. However, that does not mean that options are not available. With a few simple tools, minimal cost, and a little time, it is relatively easy to Do-It-Yourself and build some simple but highly effective tools to replace equipment normally found in the gym. Although a few tools are required, being a master carpenter is not.
Step-ups are a versatile exercise that can be performed to both strengthen the lower body and increase cardiovascular endurance. Step-ups can be performed on stairs, however, the steps on stairs typically are not very tall. By building a platform that is taller than the steps on stairs, the exercise can be made more effective. As a bonus, building a platform will likely save some money over buying one. If only the materials, and not tools are being purchased, supplies for this will run around $50. Buying a platform could easily cost three times that amount. For the home-bound handy man or woman, it is entirely possible that all the materials are already lying around. Once all the materials and tools are gathered, total build time is less than an hour.
Before beginning the build, take a tape measure and — standing barefoot on the floor — measure the height from the ground to the bottom of the knee. Since my wife is shorter than me, we measured using her leg to set the final height of the platform. The final height of the platform I built is 15 inches. Your platform height may be different depending on the height of the person or persons using it. Because I was using half-inch plywood for the platform of the stand, I cut the height of the posts supporting the stand to 14.5 inches to achieve the final height of 15 inches.
As a safety note, do not use plywood thinner than half an inch. It may not be strong enough to hold the user’s weight. Half-inch plywood is often used for subflooring in homebuilding and will be more than strong enough to handle being used in this platform. The final size of the platform will be 16 x 24 inches. Many hardware stores sell precut pieces of plywood, so buying a full-size 8’ x 4-foot piece is unnecessary. Just be sure it is at least the size needed for this project. As a minimum, use a 4 x 4-inch post for the support legs to ensure adequate strength. A smaller size of post will not be strong enough or keep the platform evenly balanced when being stepped upon. I used a 4 x 6-inch post to build the legs since I had it left over from another project.
Materials and Tools Needed

- One- 8-foot long 4 x 4-inch or bigger post
- One half-inch thick plywood cut to 16 inches wide x 24 inches long
- 16 No. 8 wood or deck screws at least 2 inches long
- A circular saw or miter saw
- Drill
- Eighth-inch drill bit
- Phillips head drill bit
- Tape measure
- Level
- Hand saw (optional, may be needed to cut posts if a circular saw is not big enough, not necessary if using a miter saw)
- Power sander (optional)
Step 1: Measure the leg length and wood for making the cuts. Use the circular saw or miter saw for these cuts. The miter saw will make cutting the post easier, but if you do not have access to one, a circular saw may be used. If using a circular saw, keep a wood saw handy for the posts. My circular saw was not quite big enough to cut through the 4 x 6-inch post. It may not have been an issue on a 4 x 4-inch post. Cut the posts to a half-inch shorter than the measured height at the bottom of the knee as described earlier. This will ensure proper height of the finished product. To build a 15-inch high platform, I cut the posts to 14.5 inches in height. Cut the plywood to the 16 x 24-inch platform size. If buying the wood for this project, some hardware stores may cut it for you if asked. Just be sure to measure twice and cut once.

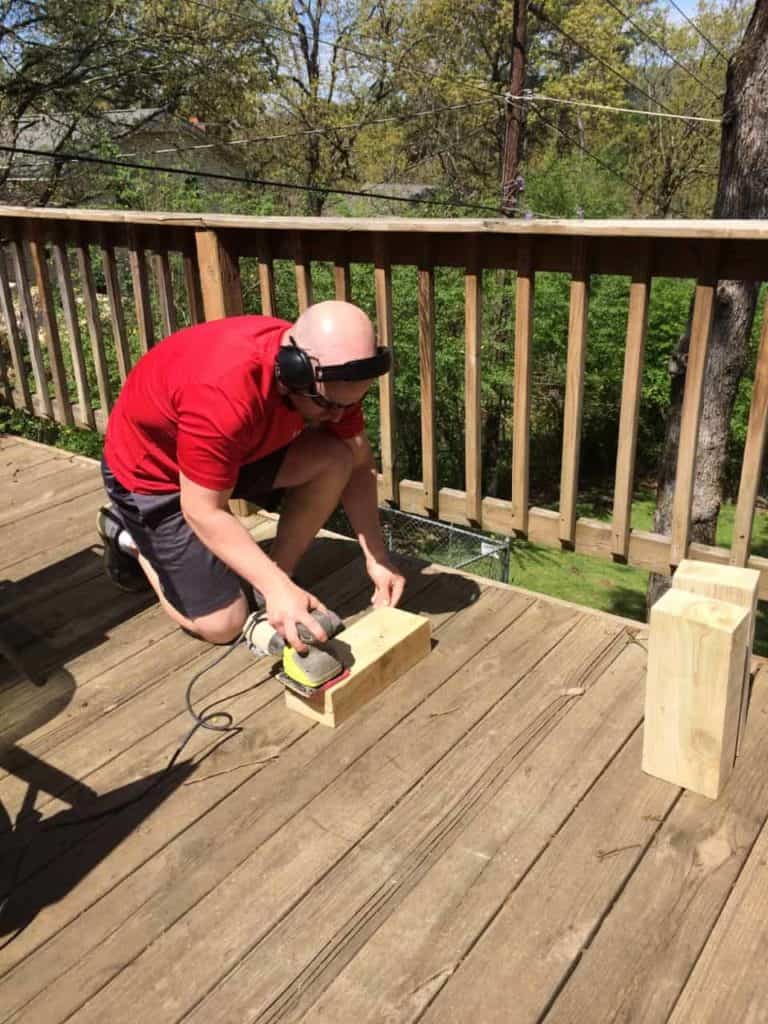
Step 1.5: Sand the cut pieces to reduce splinters along the cut edges. This isn’t necessary but does make the final platform look better.

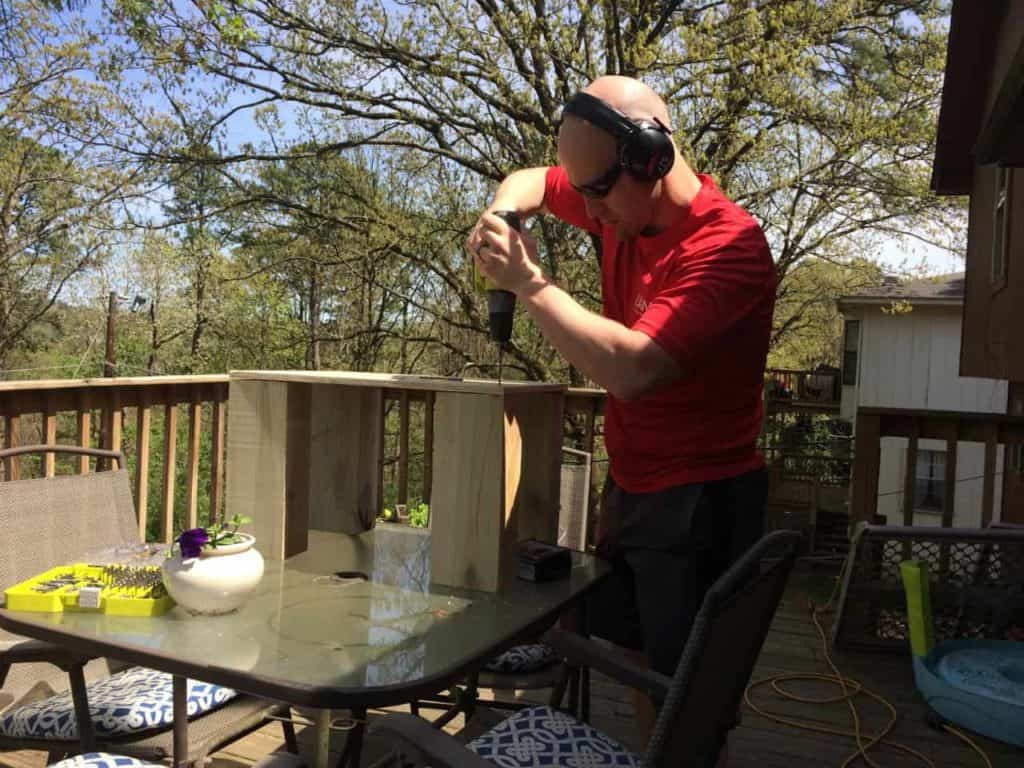
Step 2: Set up the cut posts and platform piece on a level surface with the platform on top of the posts. Use the level to check to ensure the cuts were made correctly. Once the platform is level, use the eighth-inch drill bit to drill four pilot holes in each corner of the platform and down into the posts. Make sure the edges of the platform are flush with the posts in the corners. Drill the first two holes a half inch from the edge of the platform. Drill the third and fourth holes 1.5 inches in toward the middle of the platform from the two holes along the edges. The bottom screws should be in line 2 inches below the top screws. Repeat this process for all four corners of the platform.

Step 3: Once all four posts are attached following the procedure in step two, double check that the platform is level.
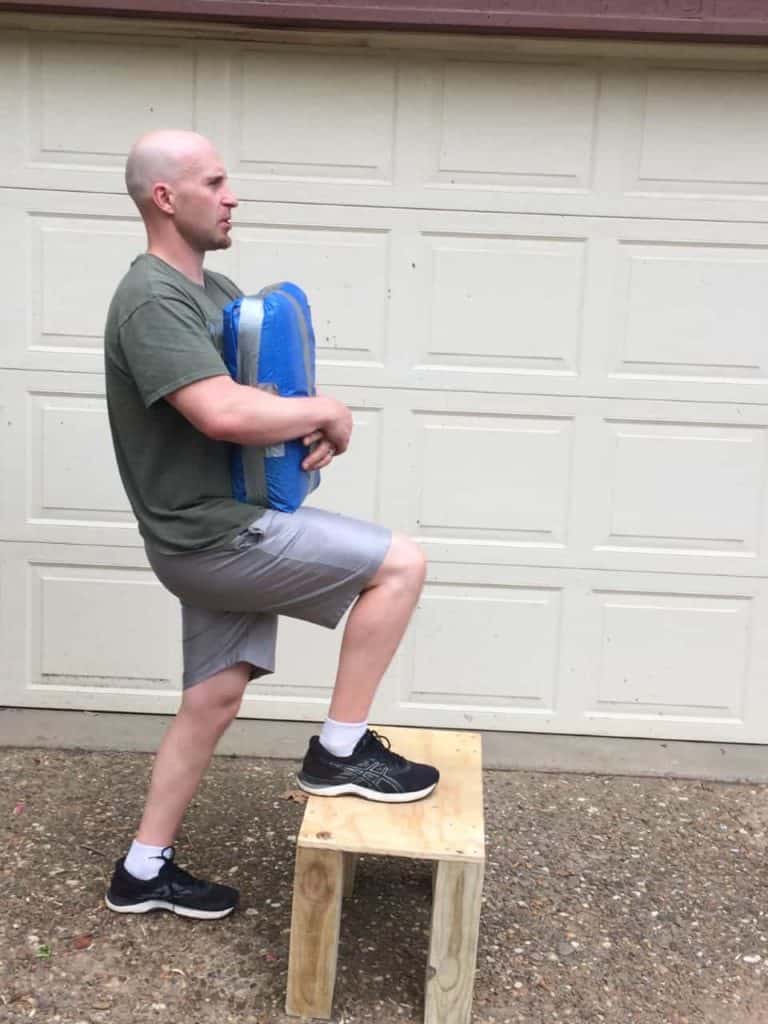
Step 4: Test and workout! In the pictures below, I am holding a 60-lb sandbag. If built correctly, this platform will safely support up to 250 lbs. It may well support heavier loads, but I have not yet tested that.

The step up is an excellent lower body strength-training exercise when adding resistance as pictured. It can also be an excellent cardiovascular exercise when done without weight. Using considerably less space than any piece of cardio equipment, a step-up platform is the space-saving, home version of the stair climber in the gym. Step up to health.
