By: Adam Carter, M.Ed., Manager of the UAMS Fitness Center
Strength training options can be limited without access to the gym. Buying weights for the home is expensive and inconvenient if it takes up a lot of space in the home. Without weights, body weight training is about the only option — or is it? Body weight strength training is a great option when access to equipment is limited. But it does not have to be the only option. With minimal cost and equipment, durable sandbag weights can be created for use at home.
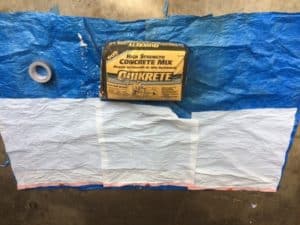
It is possible that you may already have all the needed equipment at home. If the materials need to be bought, each sandbag weight can be built for around $20 per bag and can be purchased at most big brand box stores and hardware stores. Since I already had duct tape, trash bags, and an old tarp, all I needed to purchase was a bag of concrete mix. Total cost with sales tax: $4.34. Sandbags manufactured as fitness equipment are typically sold at a price point of $1.50-2.00 per pound. A 20lb weight would cost around $35-40. The 60lb bag used in this example could cost as much as $120.
All that is required is a bag of sand or dry concrete mix, a few trash bags, a small tarp or a cutdown piece of a tarp, and duct tape. I have dumbbells up to 50lbs at home, so I purchased a 60lb bag of dry concrete mix for this. Most stores will carry bags of sand or concrete varying from 20lbs up to 80lbs. Both lighter and heavier options are available depending on individual strength levels and needs. Once the materials are assembled, build time on this is less than 10 minutes.

Step 1: If using a contractor-strength trash bag, probably only one bag will be needed. If using regular kitchen trash bags, as pictured, using a few bags is a good idea. The trash bags are to prevent the sand or concrete mix from spilling if the original packaging should tear or get a hole in it. Wrap the sandbag inside the trash bags and compress the bags to remove access air. Once this is done, wrap the trash bags in duct tape along the edges and the opening of the bag to seal it shut. With this done, move the sandbag off to one side of the tarp with enough space to wrap the near end of the tarp over the top of the sandbag.

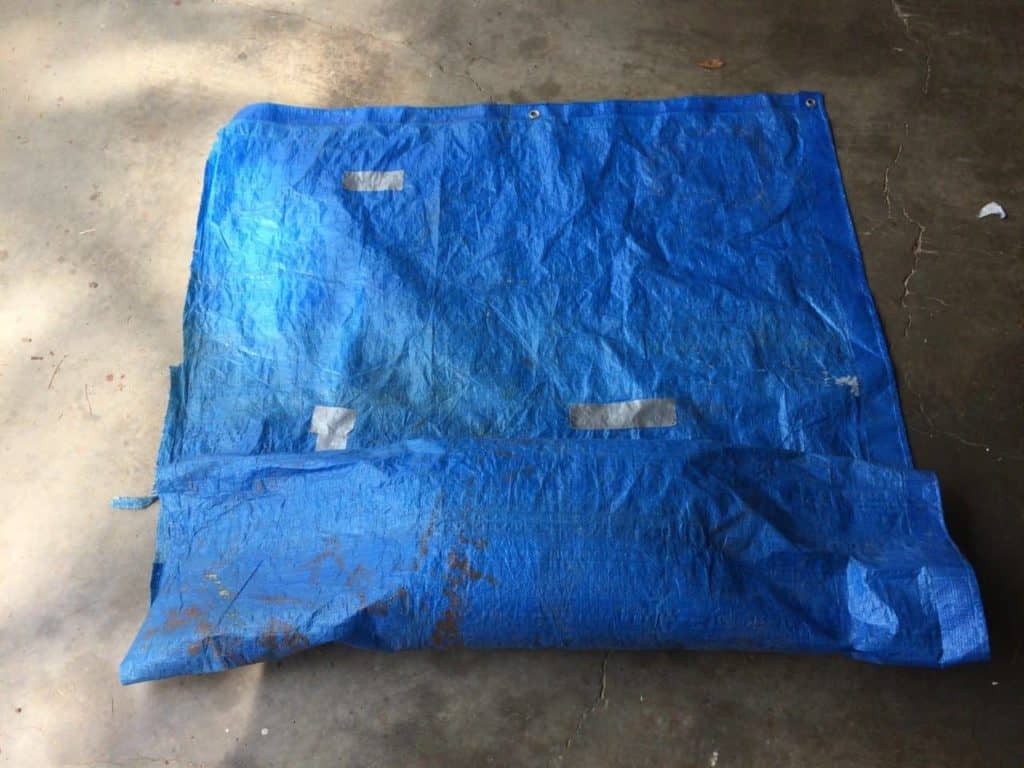
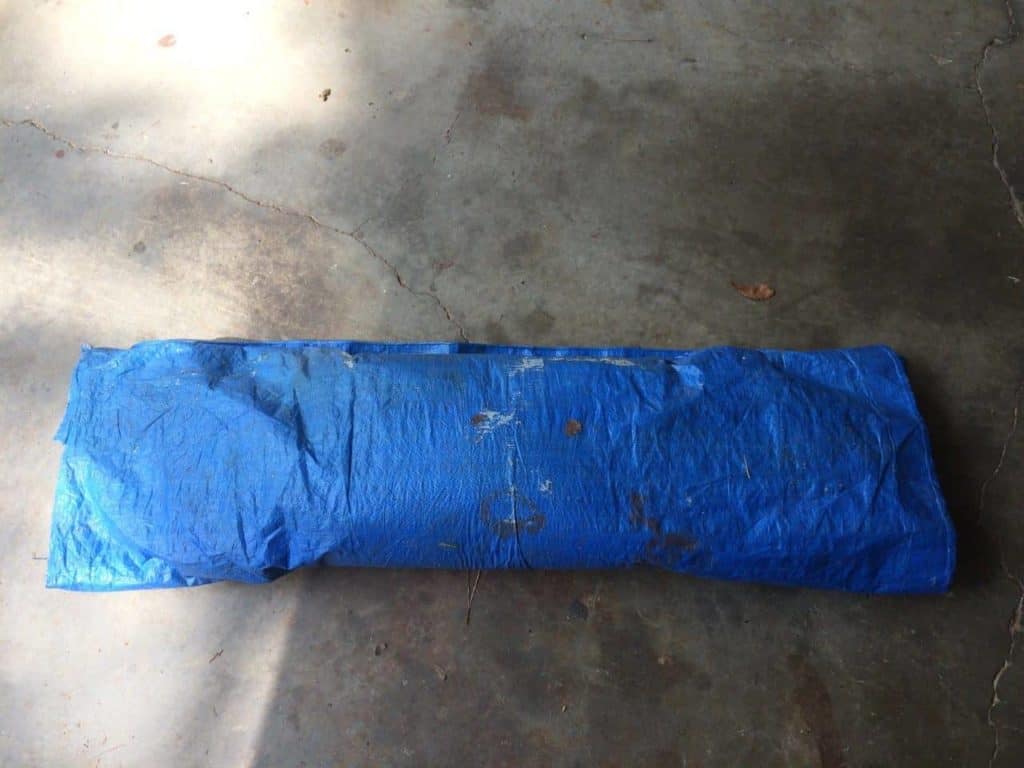
Step 2: Roll the near end of the tarp over the top of the sandbag and continue rolling the sandbag across the tarp until it looks like a burrito. Yes, you read that correctly, a burrito reference in a fitness article. If you are reading this on Taco Tuesday, you are welcome.


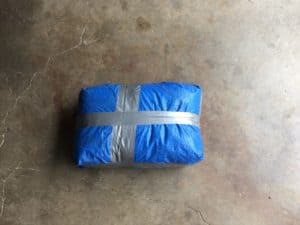
Step 3: Fold in the ends of the tarp, like folding up a burrito. Compress the air out of the tarp so that it lies flat around the sandbag and duct tape the ends and around the ends to seal it up. Once this step done, the sandbag is complete and ready to be used as a new workout tool.

Sandbags offer a lot of versatility as a training implement. Almost anything that can be done with a kettle bell or dumb bell can be done with a sandbag. Another great bonus of using a sandbag for strength training is its shape. Because it is bigger and more malleable than a barbell, kettlebell, or dumbbell, holding a sandbag challenges and develops grip strength far more than most strength training implements found in the gym.
